
Installing a light duty cable tray on a sloped surface requires a careful approach. As a supplier of high - quality light duty cable trays, I've witnessed firsthand the importance of proper installation to ensure the safety and efficiency of cable management systems. In this blog post, I'll share some key steps and considerations for installing light duty cable trays on sloped surfaces.
Understanding the Challenges of Sloped Surfaces
Sloped surfaces present unique challenges when it comes to cable tray installation. Gravity can cause the cable tray to shift or slide if not properly secured, and the angle of the slope can affect the stability of the cables within the tray. Additionally, water runoff on sloped surfaces can potentially damage the cables if not managed correctly.
Selecting the Right Cable Tray
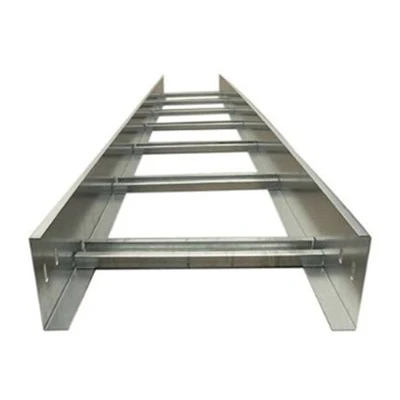
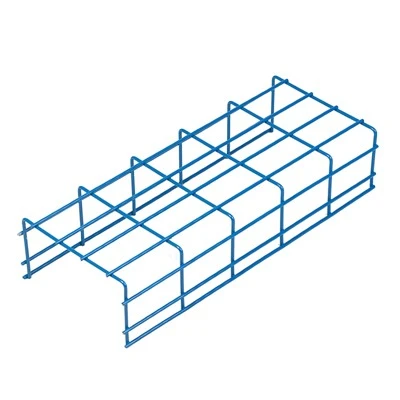
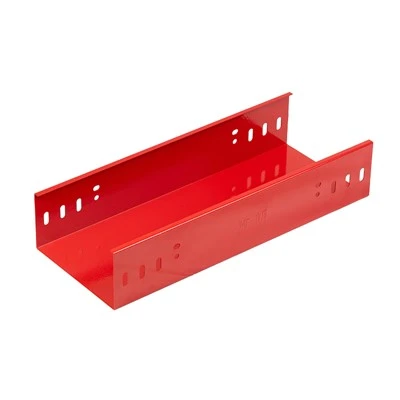
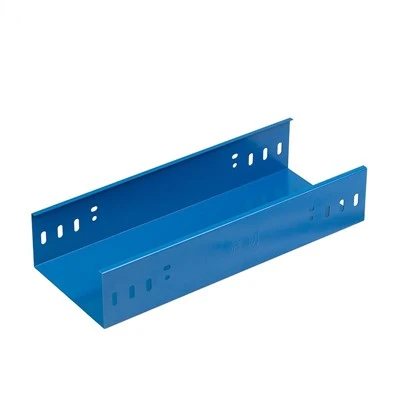
Before starting the installation, it's crucial to choose the appropriate light duty cable tray for the sloped surface. Our company offers a variety of options, including the Corrugated Energy Saving Tray and the Lightweight Energy Saving Tray. These trays are designed to be lightweight yet durable, making them suitable for sloped installations.
The Corrugated Energy Saving Tray features a unique corrugated design that provides enhanced strength and rigidity. This design helps to prevent the tray from warping or bending on a sloped surface, ensuring a stable support structure for the cables. On the other hand, the Lightweight Energy Saving Tray is made from advanced materials that reduce weight without sacrificing strength. This makes it easier to handle during installation, especially on difficult sloped surfaces.
Site Preparation
- Surface Inspection
- Thoroughly inspect the sloped surface where the cable tray will be installed. Check for any cracks, unevenness, or protruding objects that could interfere with the installation process. If necessary, repair or smooth out the surface to ensure a flat and stable base for the tray.
- Measure the slope angle accurately. This information is crucial for determining the correct installation method and ensuring that the tray is properly leveled.
- Marking the Installation Points
- Use chalk or a marker to mark the locations where the cable tray supports will be installed. These points should be evenly spaced along the slope to provide adequate support for the tray. The spacing will depend on the type of cable tray, the load it will carry, and the slope angle. As a general rule, for light duty cable trays on moderate slopes, support spacing of around 1 - 2 meters is recommended.
Installation of Cable Tray Supports
- Types of Supports
- There are several types of supports that can be used for cable trays on sloped surfaces, such as wall - mounted brackets, floor - mounted stands, and channel supports. The choice of support depends on the nature of the sloped surface and the specific requirements of the installation. For example, wall - mounted brackets are suitable for slopes that are adjacent to a vertical wall, while floor - mounted stands are better for freestanding installations on open sloped floors.
- Installation Process
- Begin by installing the supports at the marked points. Make sure they are level and plumb to provide a stable base for the cable tray. Use appropriate fasteners, such as bolts or screws, to secure the supports firmly to the surface. The type and size of the fasteners will depend on the material of the surface. For example, masonry surfaces may require concrete anchors, while wooden surfaces can use screws.
- After installing the supports, double - check their levelness and alignment. Use a spirit level to ensure that the supports are in the correct position and that they will provide a flat surface for the cable tray.
Installation of the Cable Tray
- Assembly
- If the cable tray is delivered in sections, assemble them according to the manufacturer's instructions. This usually involves connecting the sections using brackets or connectors provided with the tray. Make sure the connections are tight and secure to prevent any movement of the tray during use.
- Positioning on Supports
- Carefully place the assembled cable tray on the supports. Start from the bottom of the slope and work your way up. Ensure that the tray is centered on the supports and that it is level across the width of the slope. Use shims if necessary to adjust the levelness of the tray.
- Securing the Tray
- Once the tray is in position, secure it to the supports using appropriate fasteners. This will prevent the tray from sliding or shifting due to the slope. For example, you can use clips or straps to hold the tray in place on the supports.
Cable Installation
- Planning the Cable Layout
- Before laying the cables, plan the layout to ensure efficient use of the cable tray space. Group cables according to their type, voltage, and function. This will make it easier to manage and maintain the cables in the future.
- Laying the Cables
- Start laying the cables in the tray from one end to the other. Avoid sharp bends and twists in the cables, as this can cause damage and affect their performance. Use cable ties or clips to secure the cables at regular intervals along the tray to prevent them from moving.
- Managing Cable Sag
- On sloped surfaces, it's important to manage cable sag to prevent damage. Adjust the tension of the cables as you lay them to ensure they are not too loose. If necessary, use additional supports or cable hangers to keep the cables in place and reduce sag.
Water Drainage
On sloped surfaces, proper water drainage is essential to prevent water from accumulating in the cable tray and damaging the cables.
- Designing Drainage Holes
- The cable tray should be designed with drainage holes at regular intervals. These holes allow water to drain out of the tray and prevent it from pooling around the cables.
- Directing Water Runoff
- Ensure that the slope of the tray is in the direction of water drainage. If necessary, install diverters or channels to direct the water away from the cables and the cable tray installation area.
Safety Considerations
- Personal Protective Equipment (PPE)
- During the installation process, workers should wear appropriate PPE, such as hard hats, safety glasses, and steel - toed boots. This will protect them from potential hazards, such as falling objects or sharp edges.
- Working at Height
- If the sloped surface is at a significant height, additional safety measures are required. Workers should use safety harnesses and appropriate scaffolding or ladders. Make sure the scaffolding or ladders are stable and properly secured before use.
Quality Control and Final Checks
- Visual Inspection
- After the installation is complete, conduct a visual inspection of the cable tray and the cables. Check for any signs of damage, such as dents, scratches, or loose connections. Make sure the cables are properly secured and that there are no signs of sagging or misalignment.
- Functionality Test
- If possible, perform a functionality test of the cables. This can involve powering on the electrical systems connected to the cables and checking for proper operation. Any issues should be addressed immediately.
In conclusion, installing a light duty cable tray on a sloped surface requires careful planning, the right selection of materials, and strict adherence to safety and installation guidelines. As a supplier of light duty cable trays, we are committed to providing high - quality products and technical support to ensure a successful installation. If you are interested in purchasing our light duty cable trays or need further assistance with your installation project, we invite you to contact us for procurement and in - depth discussions.


References
- "Cable Tray Installation Handbook" - Industry standard guide on cable tray installation.
- Manufacturer's documentation for Corrugated Energy Saving Tray
- Manufacturer's documentation for Lightweight Energy Saving Tray