
Hey there! As a cable tray supplier, I often get asked about grounding cable trays. It's a crucial part of electrical installations, and getting it right can prevent a whole bunch of issues. So, let's dive into how to ground a cable tray properly.
Why Grounding Matters
Before we get into the how - to, let's talk about why grounding a cable tray is so important. Grounding provides a safe path for electrical current in case of a fault. If there's a short circuit or an electrical surge, the grounded cable tray can direct the excess current to the ground, protecting the cables, equipment, and most importantly, people from electrical shock. It also helps in reducing electromagnetic interference (EMI), which can disrupt the normal operation of sensitive electronic equipment connected to the cables in the tray.
Tools and Materials You'll Need
To ground a cable tray, you'll need a few basic tools and materials:
- Grounding conductor: This is typically a copper wire. The size of the conductor depends on the electrical load and the requirements of the local electrical code.
- Grounding clamps: These are used to connect the grounding conductor to the cable tray. Make sure they are suitable for the type and size of the cable tray.
- Wrenches or screwdrivers: To tighten the grounding clamps properly.
- Grounding rod: A long metal rod that is driven into the ground. It serves as the connection point between the grounding conductor and the earth.
Step - by - Step Grounding Process
Step 1: Plan the Grounding System
First things first, you need to plan your grounding system. Look at the layout of the cable tray installation. Determine the best locations for grounding connections. You'll usually want to ground the cable tray at its starting point, end point, and at regular intervals in between. The intervals depend on the length of the tray and the electrical code requirements. For example, in some cases, grounding every 50 feet might be sufficient.
Step 2: Prepare the Cable Tray
Clean the areas of the cable tray where you'll be attaching the grounding clamps. Remove any paint, rust, or debris. This ensures a good electrical connection between the clamp and the tray. You can use a wire brush or sandpaper to clean the surface.
Step 3: Attach the Grounding Clamps
Take your grounding clamps and attach them to the cable tray. Make sure they are tightly secured. Use the appropriate wrench or screwdriver to tighten the bolts on the clamps. The grounding clamps should be firmly in contact with the cable tray. If you're dealing with a large - scale installation, you may need multiple clamps to ensure proper grounding.
Step 4: Connect the Grounding Conductor
Once the clamps are in place, connect the grounding conductor to the clamps. The grounding conductor should be sized according to the electrical load. Bend the wire around the clamp and tighten the clamp on the wire to create a solid connection. It's important to make sure that the wire doesn't have any sharp bends or kinks that could reduce its conductivity.
Step 5: Install the Grounding Rod
Now, it's time to install the grounding rod. Find a suitable location near the cable tray installation. Drive the grounding rod into the ground until a significant portion of it is buried. You may need a sledgehammer or a special grounding rod driver for this. The rod should be at least 8 feet deep in the ground for a good connection.
Step 6: Connect the Conductor to the Grounding Rod
Connect the other end of the grounding conductor to the grounding rod. Use a grounding clamp specifically designed for the rod. Again, make sure the connection is tight and secure. Check for any signs of corrosion or damage to the rod or the conductor connection.
Special Considerations for Different Types of Cable Trays
We offer a variety of cable trays, each with its own characteristics. Here are some special considerations for grounding different types:
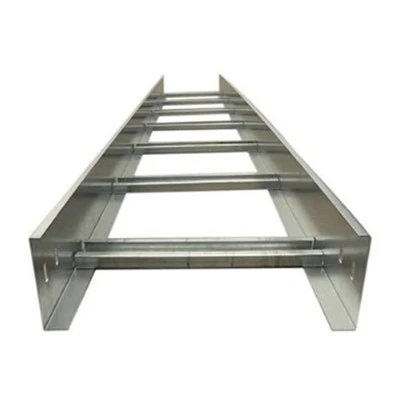
Large Span Cable Tray
For Large Span Cable Tray, due to its longer span, you may need to install more grounding points. The increased length means there could be more potential for electrical imbalances, so grounding at regular intervals is crucial. Make sure that the grounding conductors are appropriately sized to handle the electrical load over the long distance.
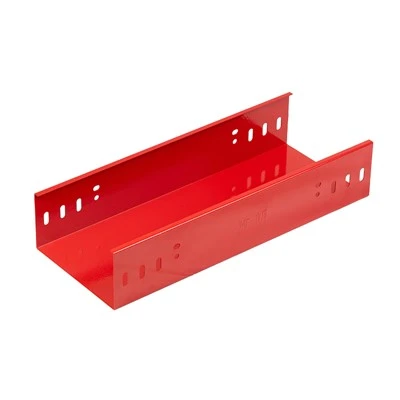
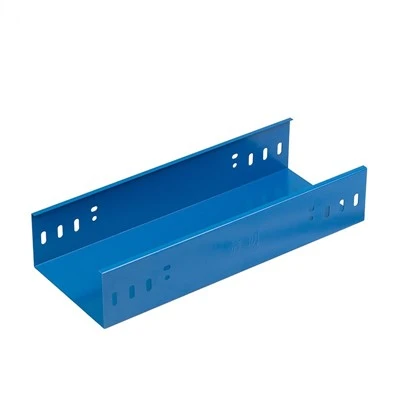
Cable Channel Tray
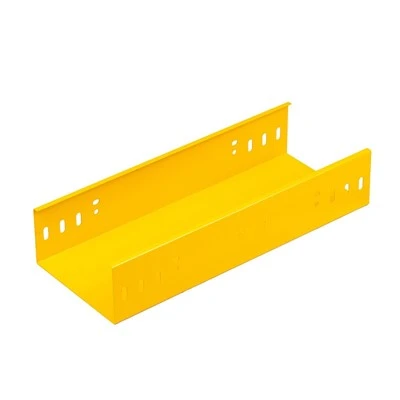
Cable Channel Tray is often used to protect cables. When grounding this type of tray, ensure that the grounding connections do not interfere with the cable installation. You may need to use smaller grounding clamps that can fit within the channel without obstructing the cables.
Lightweight Energy Saving Tray
The Lightweight Energy Saving Tray is made from lighter materials. Be careful when attaching the grounding clamps as not to damage the tray. You may need to use a more gentle touch and choose grounding clamps that are suitable for the lightweight construction.
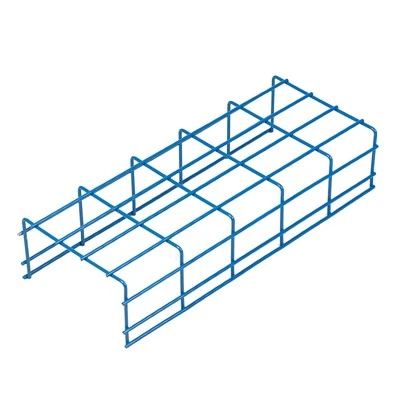
Hdg Perforated Cable Tray
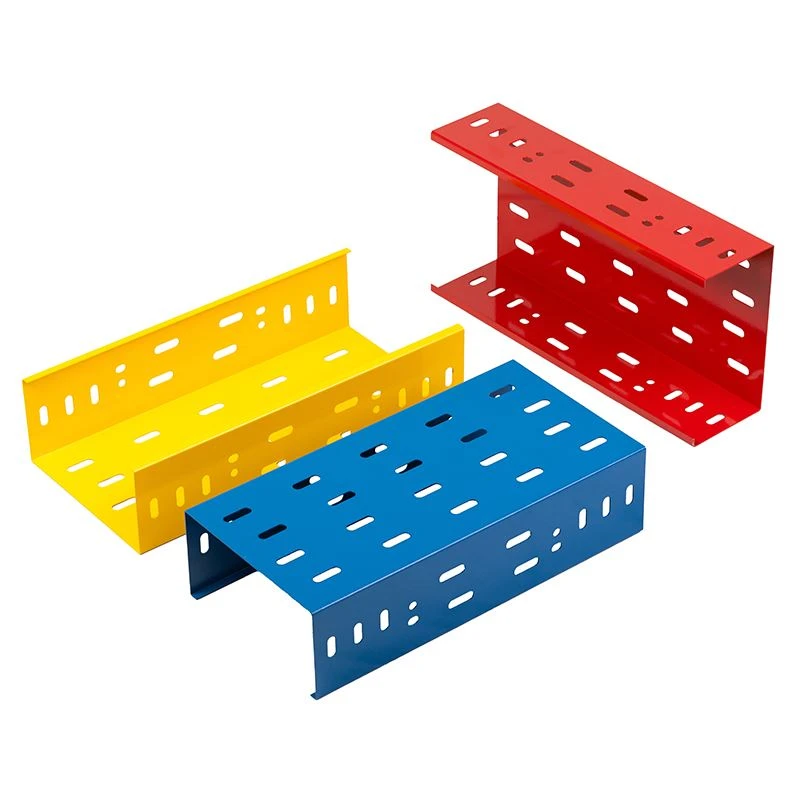
For Hdg Perforated Cable Tray, the perforations can make it a bit tricky to attach the grounding clamps. Make sure the clamps are positioned in a way that they make good contact with the solid parts of the tray. You may need to adjust the clamps to fit around the perforations.
Aluminium Perforated Cable Tray
Aluminium Perforated Cable Tray has different electrical properties compared to steel trays. Aluminium can be prone to oxidation, which may affect the grounding connection over time. Use anti - oxidation compounds on the grounding connections to maintain a good electrical connection.
Testing the Grounding System
After you've completed the grounding process, it's essential to test the grounding system. You can use a ground resistance tester to measure the resistance of the grounding system. The resistance should be within the limits specified by the electrical code. If the resistance is too high, there may be a problem with the connection, and you'll need to investigate and fix it.
Maintaining the Grounding System
Regular maintenance of the grounding system is important. Check the grounding connections periodically for signs of corrosion, looseness, or damage. If you notice any issues, repair or replace the components as needed. Also, keep an eye on the cable tray itself for any physical damage that could affect the grounding.
Conclusion
Grounding a cable tray is a vital part of any electrical installation. By following these steps and considering the unique features of different types of cable trays, you can ensure a safe and reliable grounding system. If you're in the market for cable trays or need more information on grounding, we're here to help. Whether you need a Large Span Cable Tray, Cable Channel Tray, Lightweight Energy Saving Tray, Hdg Perforated Cable Tray, or Aluminium Perforated Cable Tray, we've got you covered. Reach out to us to discuss your requirements and let's get your project on the right track.
References
- National Electrical Code (NEC)
- Institute of Electrical and Electronics Engineers (IEEE) standards on grounding.