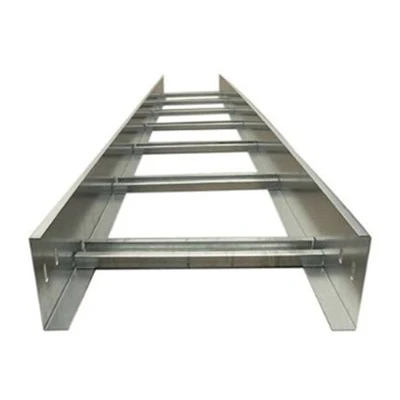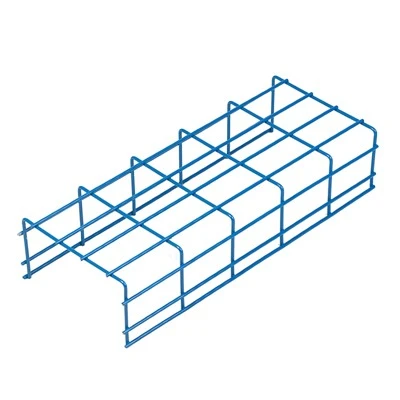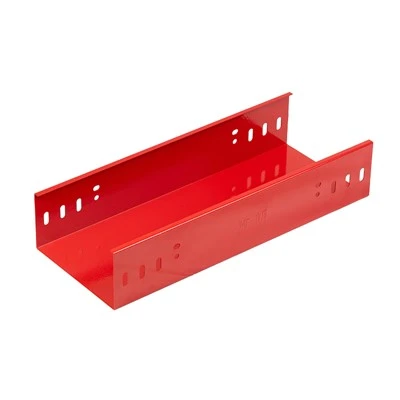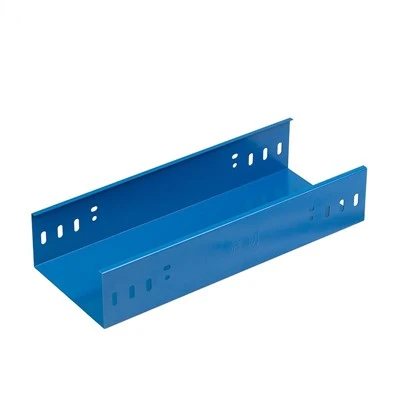

Aluminium cable ladders are a popular choice for cable management systems due to their durability, lightweight nature, and corrosion resistance. Installing an aluminium cable ladder on a ceiling can be a straightforward process if you follow the right steps. As a trusted Aluminium Cable Ladder supplier, we're here to guide you through the installation process, ensuring a safe and efficient setup for your cable management needs.
Step 1: Planning
Before you start the installation process, it's crucial to plan the layout of your aluminium cable ladder carefully. Consider the following aspects:
- Cable Requirements: Determine the number and size of cables that will run through the ladder. This will help you choose the appropriate ladder size and configuration. You can find a variety of options tailored to different cable loads and specifications at our Aluminum Ladder Cable Tray page.
- Ceiling Structure: Assess the ceiling's structure to ensure it can support the weight of the cable ladder and the cables. If necessary, consult a structural engineer to confirm the ceiling's load - bearing capacity.
- Route Planning: Plan the route for the cable ladder. Avoid areas with high - traffic or potential sources of damage. Consider future cable expansion needs when selecting the route.
- Measurement: Measure the length and width of the cable ladder required for your installation. Make accurate measurements to ensure you order the correct amount of material. Our Aluminium Cable Ladder is available in various lengths and widths to meet your specific requirements.
Step 2: Gathering Tools and Materials
Once you have completed the planning phase, gather the necessary tools and materials. Here is a list of commonly required items:
Tools
- Drill and drill bits
- Screwdriver (both flat - head and Phillips)
- Measuring tape
- Level
- Safety goggles
- Gloves
- Ladder (for accessing the ceiling)
Materials
- Aluminium cable ladder sections
- Mounting brackets
- Screws and bolts
- Washers and nuts
- Cable ties
Step 3: Preparing the Ceiling
Before installing the cable ladder, you need to prepare the ceiling:
- Clean the Surface: Remove any dust, debris, or paint from the ceiling where the mounting brackets will be installed. A clean surface ensures a secure attachment.
- Mark the Mounting Points: Using a measuring tape and a level, mark the positions where the mounting brackets will be placed. Ensure the marks are straight and evenly spaced according to your planned layout and the ladder manufacturer's recommendations.
Step 4: Installing the Mounting Brackets
The mounting brackets are essential for supporting the cable ladder. Follow these steps to install them:
- Drill Holes: At the marked points on the ceiling, drill holes of the appropriate size for the screws or bolts that will secure the mounting brackets. Make sure the holes are deep enough to hold the fasteners securely.
- Attach the Brackets: Place the mounting brackets over the holes and insert the screws or bolts. Tighten them using a screwdriver or a wrench. Use a level to ensure the brackets are installed horizontally.
Step 5: Assembling the Aluminium Cable Ladder
Now it's time to assemble the cable ladder:
- Connect the Sections: Depending on the length of your installation, you may need to connect multiple sections of the cable ladder. Use the provided connectors and fasteners to join the sections securely. Align the ends of the ladder sections carefully before tightening the fasteners.
- Check for Alignment: After each connection, use a level to check that the ladder is straight and level. This will ensure smooth cable routing and prevent any potential issues in the future.
Step 6: Installing the Assembled Cable Ladder
With the mounting brackets in place and the cable ladder assembled, you can now install the ladder on the ceiling:
- Lift the Ladder: With the help of a partner, carefully lift the assembled cable ladder onto the mounting brackets. Ensure that the ladder is properly seated on the brackets and aligned with the mounting holes.
- Secure the Ladder: Use the provided screws or bolts to secure the cable ladder to the mounting brackets. Tighten the fasteners evenly to prevent any warping or misalignment of the ladder.
Step 7: Routing the Cables
Once the cable ladder is installed, you can start routing the cables:


- Organize the Cables: Group the cables according to their type, function, or destination. This makes it easier to manage and troubleshoot the cables in the future.
- Use Cable Ties: Secure the cables to the cable ladder using cable ties at regular intervals. Avoid over - tightening the cable ties, as this can damage the cables.
Step 8: Final Checks
After routing the cables, perform a final inspection of the installation:
- Check for Stability: Ensure that the cable ladder is securely attached to the ceiling and that there are no loose connections. Give the ladder a gentle shake to make sure it doesn't move.
- Verify Cable Routing: Check that the cables are properly routed and there are no sharp bends or kinks that could affect their performance.
- Inspect for Safety: Make sure that all tools and materials have been removed from the work area. Check for any exposed wires or potential safety hazards.
Benefits of Using Our Aluminium Cable Ladders
As an Aluminium Cable Ladder supplier, we offer high - quality products with several advantages:
- Lightweight: Aluminium is a lightweight material, making the cable ladder easy to handle during installation. This reduces the labor and equipment required for the installation process.
- Corrosion Resistance: Aluminium has excellent corrosion resistance, which is particularly beneficial in harsh environments. Our Aluminum Extruded Cable Ladder is designed to withstand various weather conditions and chemical exposures.
- Durability: Our aluminium cable ladders are built to last. They can support heavy cable loads without deforming, ensuring long - term reliability for your cable management system.
- Customizability: We offer a range of sizes and configurations to meet your specific needs. Whether you need a small - scale installation or a large - scale industrial solution, our Aluminum Ladder Tray can be customized accordingly.
- Telecom - Ready: For telecom applications, our Telecom Cable Ladder is specifically designed to provide optimal support for telecom cables, ensuring stable signal transmission.
Contact Us for Your Aluminium Cable Ladder Needs
If you're in the market for high - quality aluminium cable ladders, we're here to assist you. Our team of experts can provide detailed product information, guidance on installation, and customized solutions to meet your unique requirements. Whether you're working on a commercial, industrial, or residential project, our products are designed to deliver outstanding performance and reliability.
Get in touch with us today to start discussing your cable management needs. We look forward to helping you create a safe and efficient cable installation with our Aluminium Cable Ladders.
References
- "Cable Tray Installation Guide" by the National Electrical Manufacturers Association (NEMA)
- Various industry - standard handbooks on cable management and installation techniques